Getting Started
Hint
Getting Started provides general information and links to sections in the user manual useful when first using Curensee. The information here is by no means exhaustive and is primarily intended to help you set up accounts and add transaction data. For information on using all areas of Curensee refer to the User Manual.
Installation
Curensee can be installed using the store of the intended platform:
For the Windows 10 Desktop version see the Microsoft Store. If there are installation issues, please consult the guide here.
Support for other platforms is currently in development.
Important Terminology
Please understand the below terms before reading the documentation. These terms are very important to follow along. For a list of all important terms please see the Glossary.
- Account
A collection of transactions recording a balance over time. Types of accounts included checking, savings, cash, investment, etc. Each account contains a list of credit or debit transactions with a specific amount and date/time of occurrence. Accounts are usually held with a financial institution
- Transaction
A record of assets or liabilities moving from one location (originator) to another (responder). Transactions usually occur between accounts of a buyer and seller but may also be a transfer between accounts of the same entity. All transactions should contain at minimum a date/time and amount field.
- Field
The most basic representation of data within a transaction. Many different types of fields for date/time, amount, description, etc. make up a transaction.
Explore the Example File
Sometimes, especially for first-time users, it is helpful to test features without having to first create accounts and add transactions. To support this, an example file is built into the application that can be opened at first startup.
Follow the steps below to open the example file:
Launch the application. Do not launch the application by double-pressing an existing file.
After the application starts, the file overlay will appear as shown below in Fig. 1. For further details about the file overlay see the File view.
Note
The file overlay will appear when the application first launches and has no active file. If you open Curensee using a file on your computer the overlay will not be shown.
|
|---|

Fig. 1 File overlay¶ |
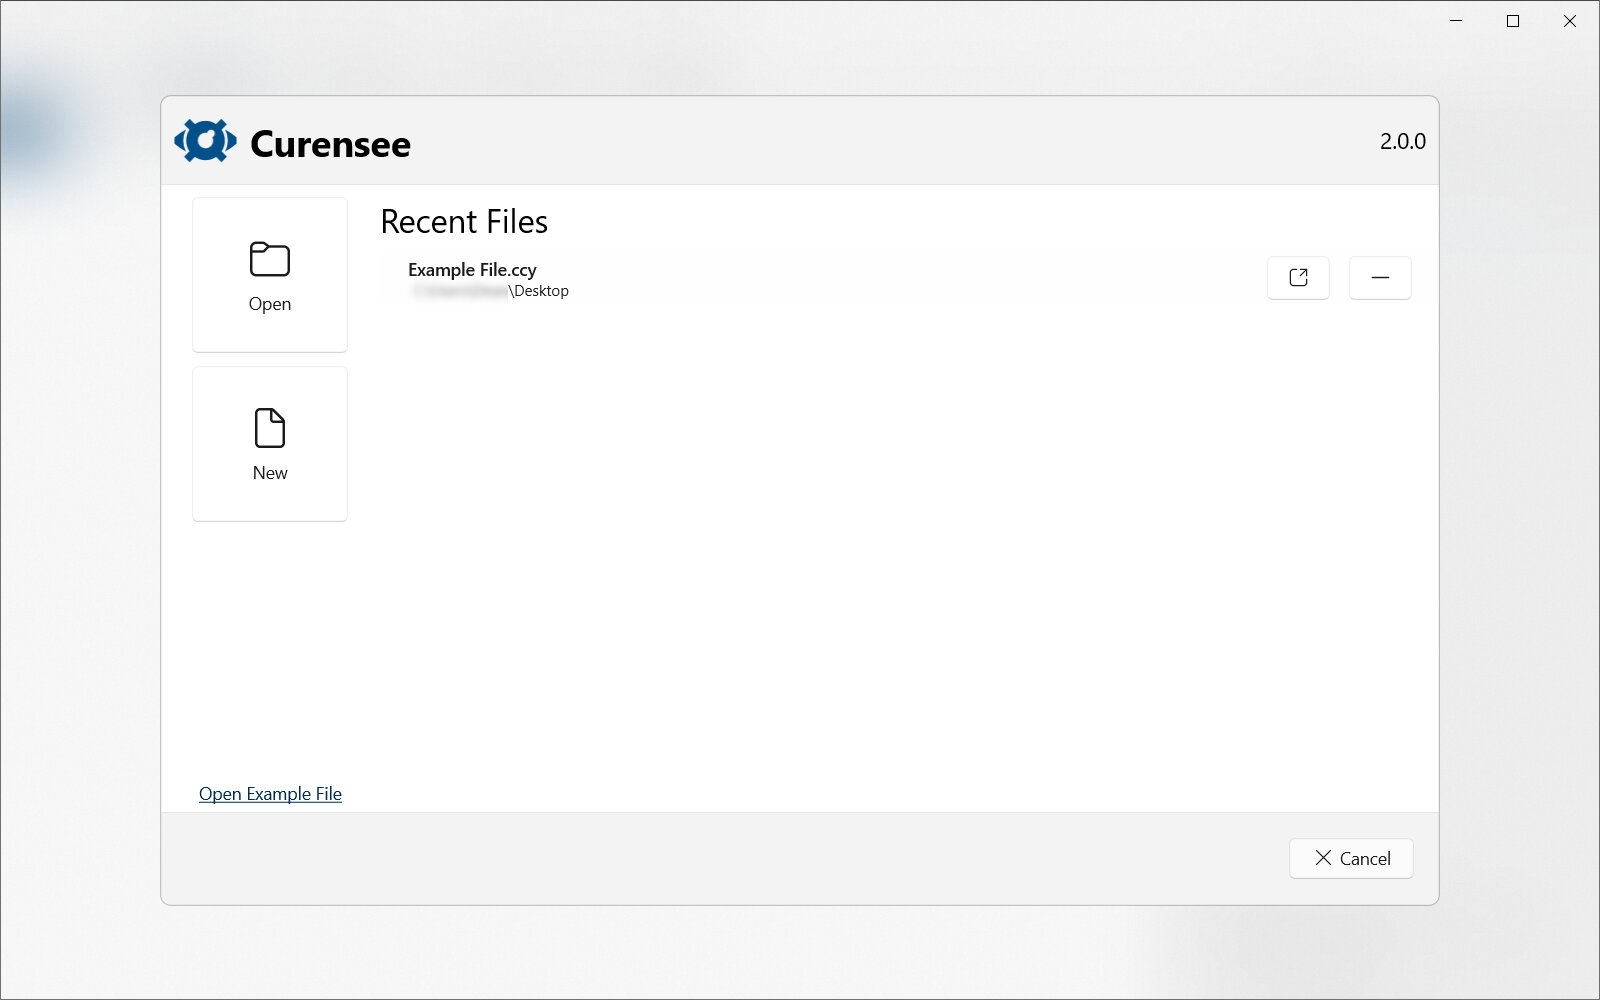
Press Open Example File at the bottom of the list of actions below New. This does not appear as a standard button and instead looks like a hyperlink so it is less intrusive. After pressing the button the example file is loaded and ready for interaction.
Hint
It is not possible to corrupt the example file. Go ahead and move widgets around in the dashboard, delete accounts/transactions/fields and explore any idea without fear of breaking things! When you are done, you can reload the original example file.
Accounts
The following sections provide instructions and guidelines useful when setting up accounts for the first time.
Creating Accounts
The very first step in creating a new Curensee file is to set up the accounts. The accounts will contain all transactions which are needed to power the visualization and reporting capabilities. Accounts must be setup manually using the Accounts Editor. The accounts editor is best opened from the Accounts view but can be opened from any view with the Edit menu. To create your first account(s) follow the steps below.
Note
In this example, accounts are already created. In your first file both the account view and the accounts editor will be empty except for the default, new account.
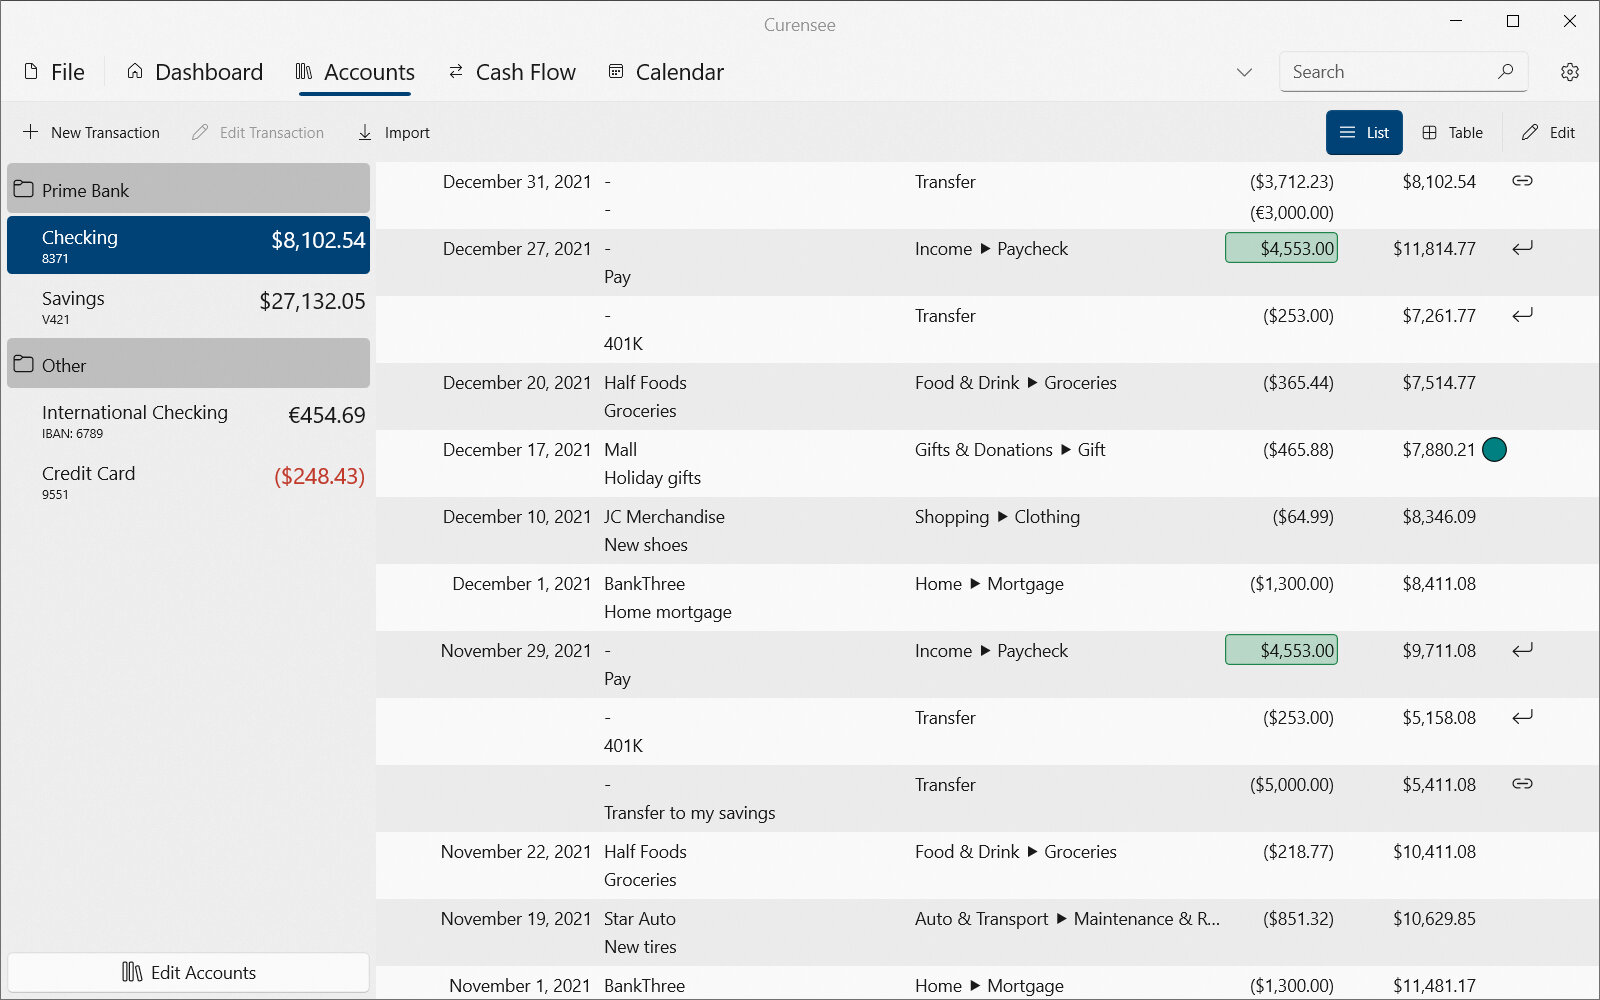
Navigate to the Accounts view by pressing its tab in the top of the application. Once opened, the accounts view will appear as shown below in Fig. 2.
|
|---|
|
Fig. 2 Example accounts view¶ |
Open the Accounts Editor by pressing Edit then Accounts in the top right of the command bar. Once opened, the accounts editor will appear as shown below in Fig. 3.
|
|---|
|
Fig. 3 Example accounts editor¶ |

Press the add account button
 to create a new account. Alternatively, the default ‘New Account’ can be modified.
With the new account selected in the list, modify all account properties. It is important to set a name for the account that should generally follow the name assigned by the financial institution.
Next, make sure to modify the transaction properties specifying a currency code, scale and default template (see the Transaction Templates Editor). The currency code and default template will be used for all new transactions. If unsure which transaction template to assign, use the default ‘Standard’ template.
Note
By default the currency scale and code will be set based on your computer’s language and region settings.
Press Save to save changes to the account(s). At this point you are ready to add transactions.
Transactions
The following sections provide instructions and guidelines useful when adding and editing transactions. It is important to add transactions to Curensee as they contain the information needed to power all functionality.
Importing Transactions
Importing transactions is one of the most important processes in Curensee. It is very useful to save time when adding many transactions to an account. For step-by-step instructions on importing transactions see the Transaction Import section.
Creating a new Transaction
Transactions can also be created manually. Adding a new transaction manually is generally less desirable than importing transactions. Only create a new transaction when importing isn’t possible.
To create a new transaction follow the steps below.
Navigate to the Accounts view by pressing its tab in the top of the application. Once opened, the accounts view will appear as below.
|
|---|
|
Fig. 4 Example accounts view¶ |
In the top command bar press New Transaction. Alternatively, right-click and press New from the transaction context menu.
A new transaction will open in the transaction editor. Modify field values as described below using the Fields Editor.
Warning
A transaction should always include at minimum a date and amount. It is also a good idea to add category and payee information when available. A new transaction cannot be created if all fields are empty.
Press Save to save to create the new transaction and close the editor. The new transaction is not added to the account until Save is pressed. Alternatively, press Cancel to close the editor without saving any changes.
Editing transactions
When you want to change the category, amount, date or any other field of a transaction, use the transaction editor. A transaction can be opened in the editor by double pressing it when displayed in the accounts view.
To edit any transaction follow the steps below.
Navigate to the Accounts view by pressing its tab in the top of the application. Once opened, the accounts view will appear as below.
|
|---|
|
Fig. 5 Example accounts view¶ |
Locate the transaction you wish to edit in the list or table. Search may be used to quickly find a particular transaction.
Double press the transaction. Alternatively, select it, right-click and press Edit from the transaction context menu .
The transaction editor will open allowing for fields to be modified. An example of the fields editor is shown below.
|
|---|
|
Fig. 6 Example transaction editor¶ |
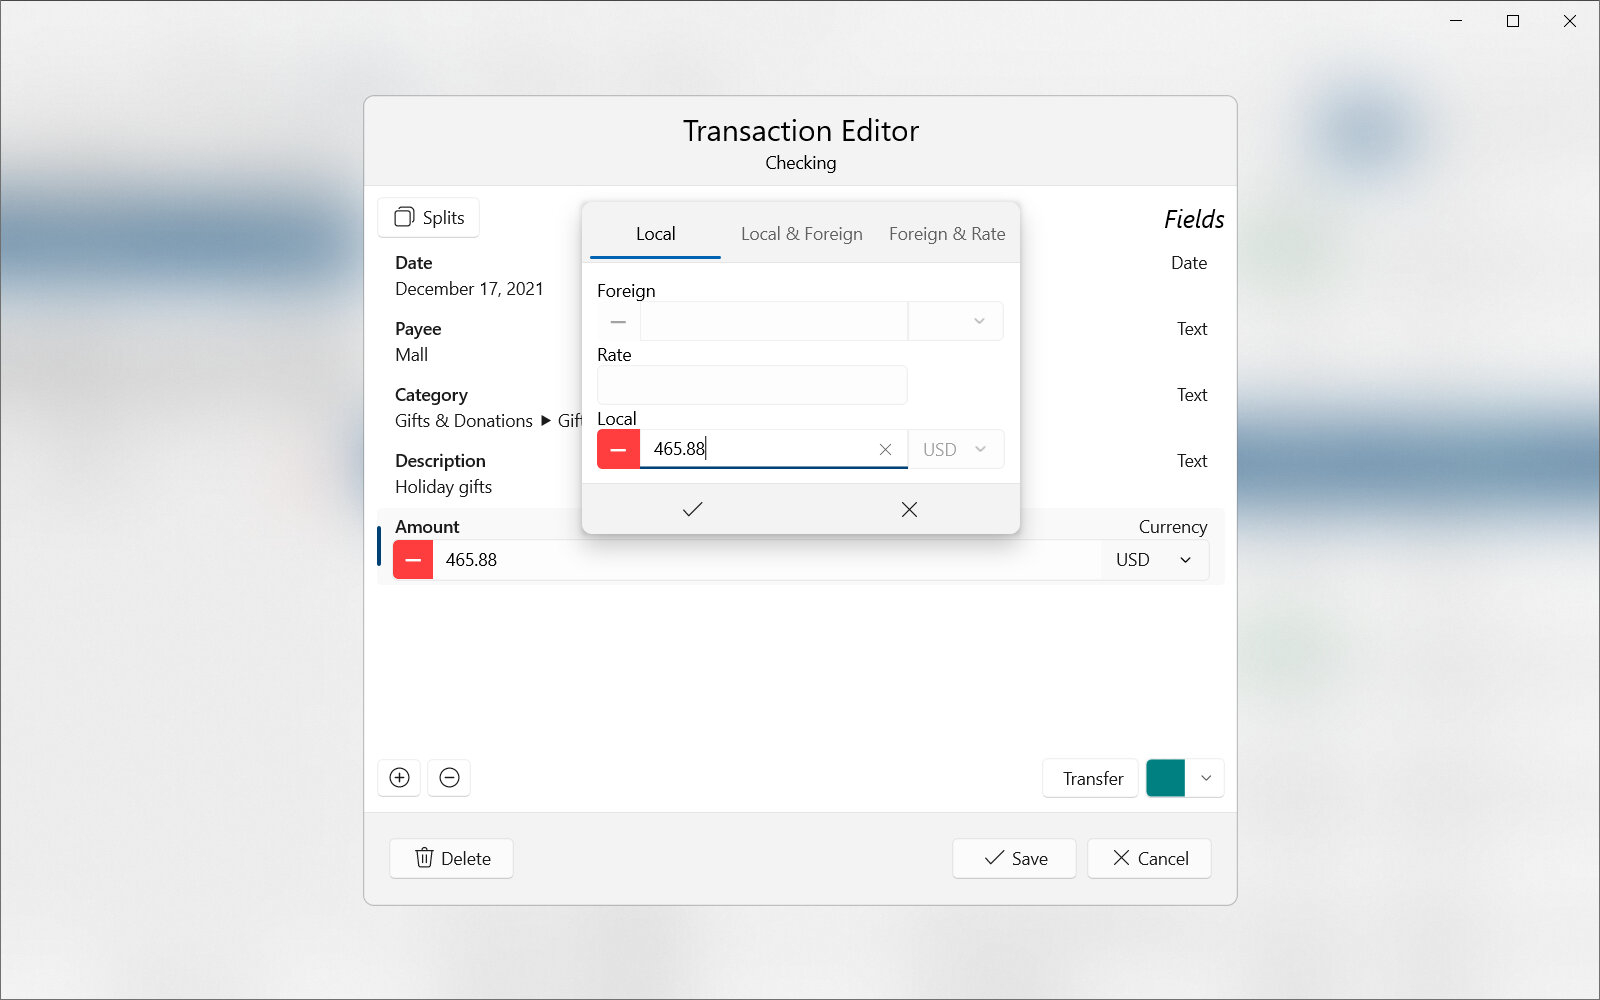
Modify field values as desired. For quick instructions on changing transaction field values like category or amount see the Fields Editor section. For full details on editing a transaction see the Transaction Editor.
Press Save to save the changes and close the editor. Alternatively, press Cancel to close the editor without saving any changes.